Monday, March 7, 2016

craft month scrap busters


dig out that pile, grab your paper trimmer, adhesives and punches.  These ideas can be used over and over!!

I built all of the cards on bases then attached them to cards.


a score line helped keep things even
base was cut 1/4 " smaller than card 

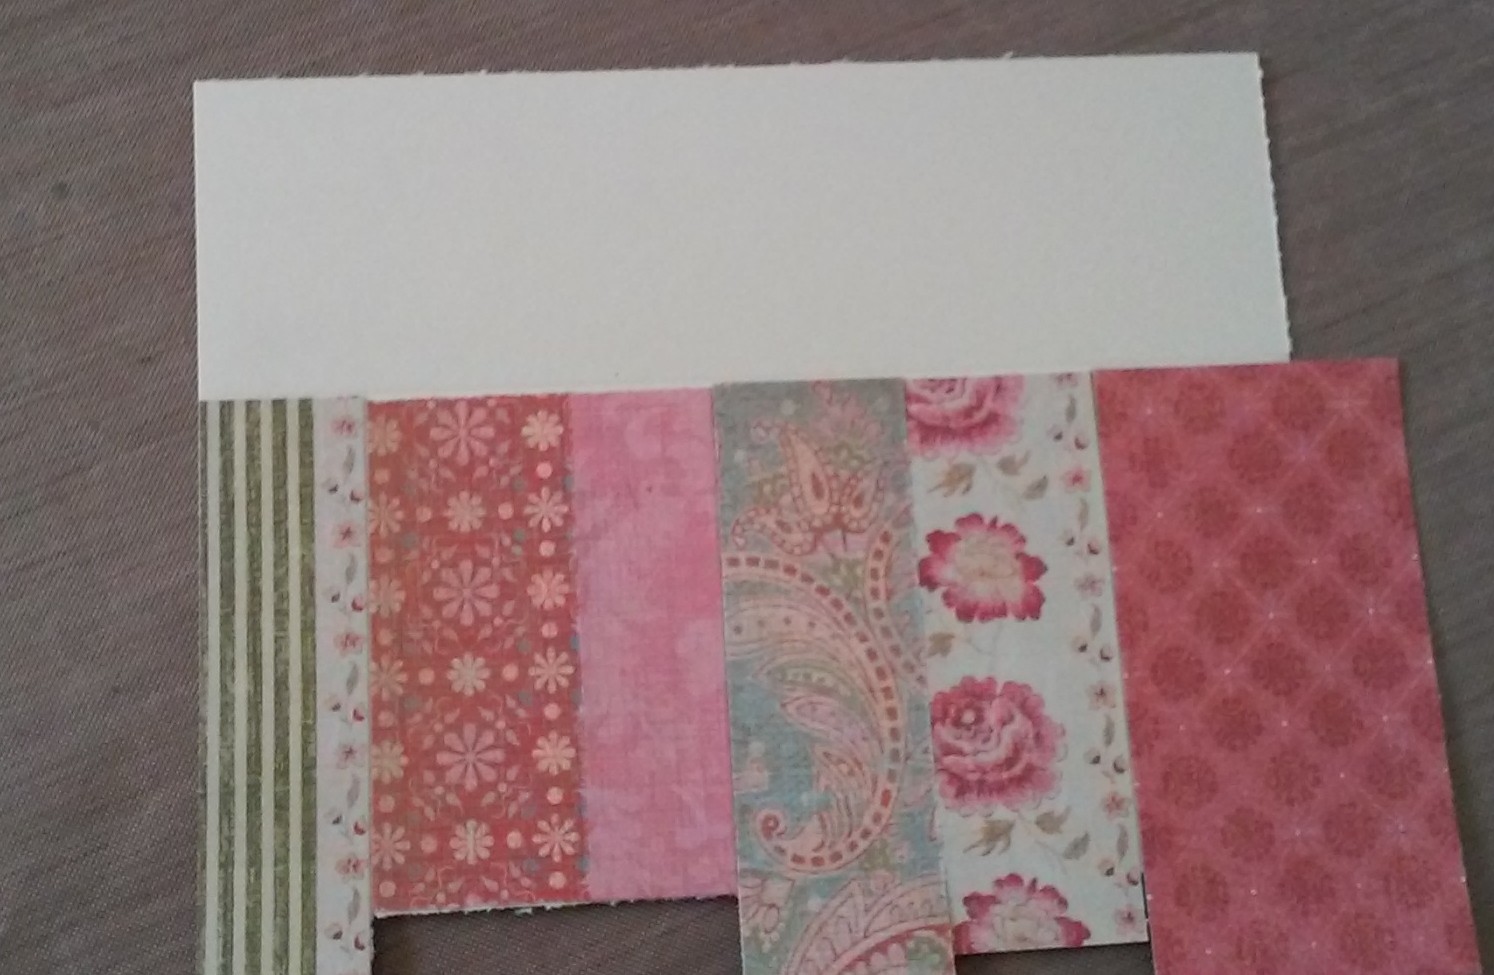
cut and attach strips, let them hang over, it's easier than trying to make them fit

trim and add embellishments and verse

same idea just change direction
same base size

all strips were 3/4 wide and again, I let them hang over
see how the strips line up, equal to the opposite side.
base was 

trim and attach to a solid base, which was 1/4 " smaller than card base
so the design base was sut a little smaller than the solid one
and then to card base

punch and layer as you go
assemble each circle layer as you go
then attached to a solid base
sizes were the same as above

finished card with butterfly punch and some floss antennas

added a punched embellishment

added some black and mounted it onto a black base
then to the card base

another circle embellishment


Have fun!!  Happy crafting and thanks for stopping by.
margie

Saturday, March 5, 2016

crafting a scrap/junk journal

A Day Book inspired by many out there on the market.  It is a paper only mixed size journal with sewn binding.

This project is a work in progress. The journal is made and  through out the month I will add to it and post photos.


supplies:
double sided paper
paper cutter
*WE R envelope board (optional - you can also use a scoreboard)
scissors
fiber to stitch signatures - I used waxed linen 2.5 x the length of your template
awl or pokey tool to make signature holes
paper clips

This can be made in any size. My finished journal is 6 x 8.   I will give you the dimensions I used.  Fold every piece in half after cutting and layer together.
cover:  12 x 8
pg. 1:  11 x 7
pg 2:    6 x 6 one end is cut like a tag
pg 3:  9 x 6  rounded corners
pg 4:  8 x 4 with ends cut like banner
pg 5:  9 1/2 x 3 1/2
pg 6:  9 1/2 x 5

5 x 5 envelope was made using the envelope punch board and added between pg. 4 & 5 flap fold in placed in the center


Clip all of your pages together and sew together using a 5 hole pattern:

I added a belt to the outside before stitching

your template should be at least as long as your shortest page.  Mine was 5" long.

clips will help keep everything together as you sew

start and end in the inside middle


have fun.  Use up some scraps!  The paper I used was from a very old K & K paper pad.  I like using these because the papers already coordinate with one another - no strenuous thinking on color for me!
thanks for stopping in today.

margie


Thursday, March 3, 2016

watercolor fun

it's everywhere I look so I decided to give watercolor a try - okay another try!
WARNING!!  photo heavy!

 stamp images and emboss with white powder
wet paper and apply watercolors. I used a brush and applied water when I wanted the color to go.
left side:  colors applied separately -  water/paint added to flowers first
right side:  color applied all over -  water applied everywhere then painted over
I thought I was using watercolor paper but by the way it re-acted to the water, it wasn't.
I was lucky.  I would use watercolor paper next time.
Some of the embossing soaked right into the paper (see bottom of right sample)

oops:  color didn't work so i painted everything black

close up

close up

finished:  added distress ink to edges, gold splatters, die cut with stamped verse and some embroidery floss


stamp image onto mixed media paper - it holds up to water and is very smooth.
use a permanent ink .  I used Ranger Archival Black.  I  did this twice. 


added water to petals and then distress inks (smoothed on craft mat) using water color brush

another color and let dry, then painted leaves (seen later)

on second stamping I inked matching solid image, spritzed lightly with water and stamped

the result

always have extra paper ready for generational stamping:  spritz stamp again  and stamp.
left to right:  original, spritzed and stamped, spritzed again and stamped
the 2nd and 3rd were put aside 

added glaze over images with my finger
a little goes a long way
gently buff with a dry cloth

wrinkle free distress technique:  smoosh inks onto craft mat, spritz with water and lay stamped image down,
picking up ink, add layers drying before smooshing 

see how the glaze protected the images:  they didn't run or pick up any more ink.
I like this stuff, especially when using distress inks - it actually makes them water-proof!

ink images with stamp pad, stamp onto watercolor paper

paint with water to move ink around

I inked and stamped again for more definition
then added water to background and added distress inks (smooshed on craft mat first)
I used a reservoir brush for this and wasn't able to control water so.......

.......on this one I used a regular brush and was able to control the amount of water on paper


come back again to see more watercolor and the finished project with these pieces.
Oops, one is already in the mail!!

thanks for stopping by.  Happy Crafting!
margie

Tuesday, March 1, 2016

march!!

It's here!

March is Craft month!!

I have great intentions of posting fun projects during this transition month from the evil clutches of winter (which don't want to let go in some places!!) to the sweet smells, colors, and warmth of Spring.

Today's fun project:  chalkboard trays!

supplies:
silver tray from The Dollar Tree
gesso
chalkboard paint:  I did a diy search and it sounded like it would be easier to purchase the paint unless you have some old grout and latex paint laying around (I bet some of you do have that!).
chalk

the inspiration..........

the steps........

paint with gesso and let dry (oops forgot the picture)

cover with chalkboard paint and start to play

keep playing!

erase with a damp cloth

start again!!

And another cool thing about these trays - they are magnetic!  I bought two more shapes and will post their pictures, too.

have fun! be creative!!  
thanks for stopping by.

Thursday, February 25, 2016

oops

sorry, having a little "blog Neglect" going on.
I am collecting ideas for craft month to share, so be ready for that.


Rodeo Parade today.....
No school here - not a snow day either!

It's Rodeo Days Break!  no school today or tomorrow so everyone can go.  It's in it's 90th year....

Tuesday, February 16, 2016

tracking packages

So I ordered my Glue and Seal from Joann.com last week.  I received confirmation and tracking soon after and started watching my package......
so far:  Michigan (yes, it ships from Grand Rapids!)
Wisconsin.....Nebraska........Utah........and it is now in Arizona (Kingman, about 250 miles away?)
It is expected to arrive on Friday, maybe I will be surprised and it will be here a little sooner than later.

I am getting ready for March Craft Month.  I hope to post projects and techniques weekly for you to try.  Some new, some old that maybe have been forgotten or stored away someplace.

There's lots of great stuff out there in blogland.  Watercolor techniques appear to be leading the pack.  I love it.  Hard to make mistakes and the outcome is amazing.  The key:  let it dry between applications (or help it along with you heat gun).  Patience!!!

things I have been working on:


Sketches Tutorials:  4 sketches/lots of cards using paper scraps and GR45 Children's Hour

mini notebooks:  candy not included!

Character Constructions Valentine paper dolls

mini easel candy boxes:  make along project from August, 2015

visits to the Gem/Fossil/Mineral/Bead show here in Tucson.
 
Spring is arriving here in the desert.  I'm sure it will be where you are real soon, at least according to Mr. Groundhog!
stop back again.
margie

Tuesday, February 2, 2016

stock up time

Ranger announced they would no longer be producing Glue and Seal (a great product for everything).
Time to stock up, if you can find it.  I did at Joann.com.