Wednesday, March 30, 2016

new technique

I saw a new technique this week using T. Holtz distress crayons and archival inks.  My results were interesting but nothing at all like the original.  Maybe that's because I used oil pastels instead of the distress crayons.  I'm trying hard not to buy them.  Here goes:

works best with outline stamp

scribble over with crayon

lay GLOSSY paper over stamp and rub

this is what I got.  I expected much more of the image
I repeated this step and used a few more outline stamps
heat set

go over entire area with archival ink, using a distress tool and sponge
remember archival inks are permanent and that is what you need to use
heat set

rub any remaining crayon away with a baby wipe or damp cloth
the image should remain underneath
I got some great results but I should have been able to go back and color the resist areas
mine didn't resist as much but I like the results.

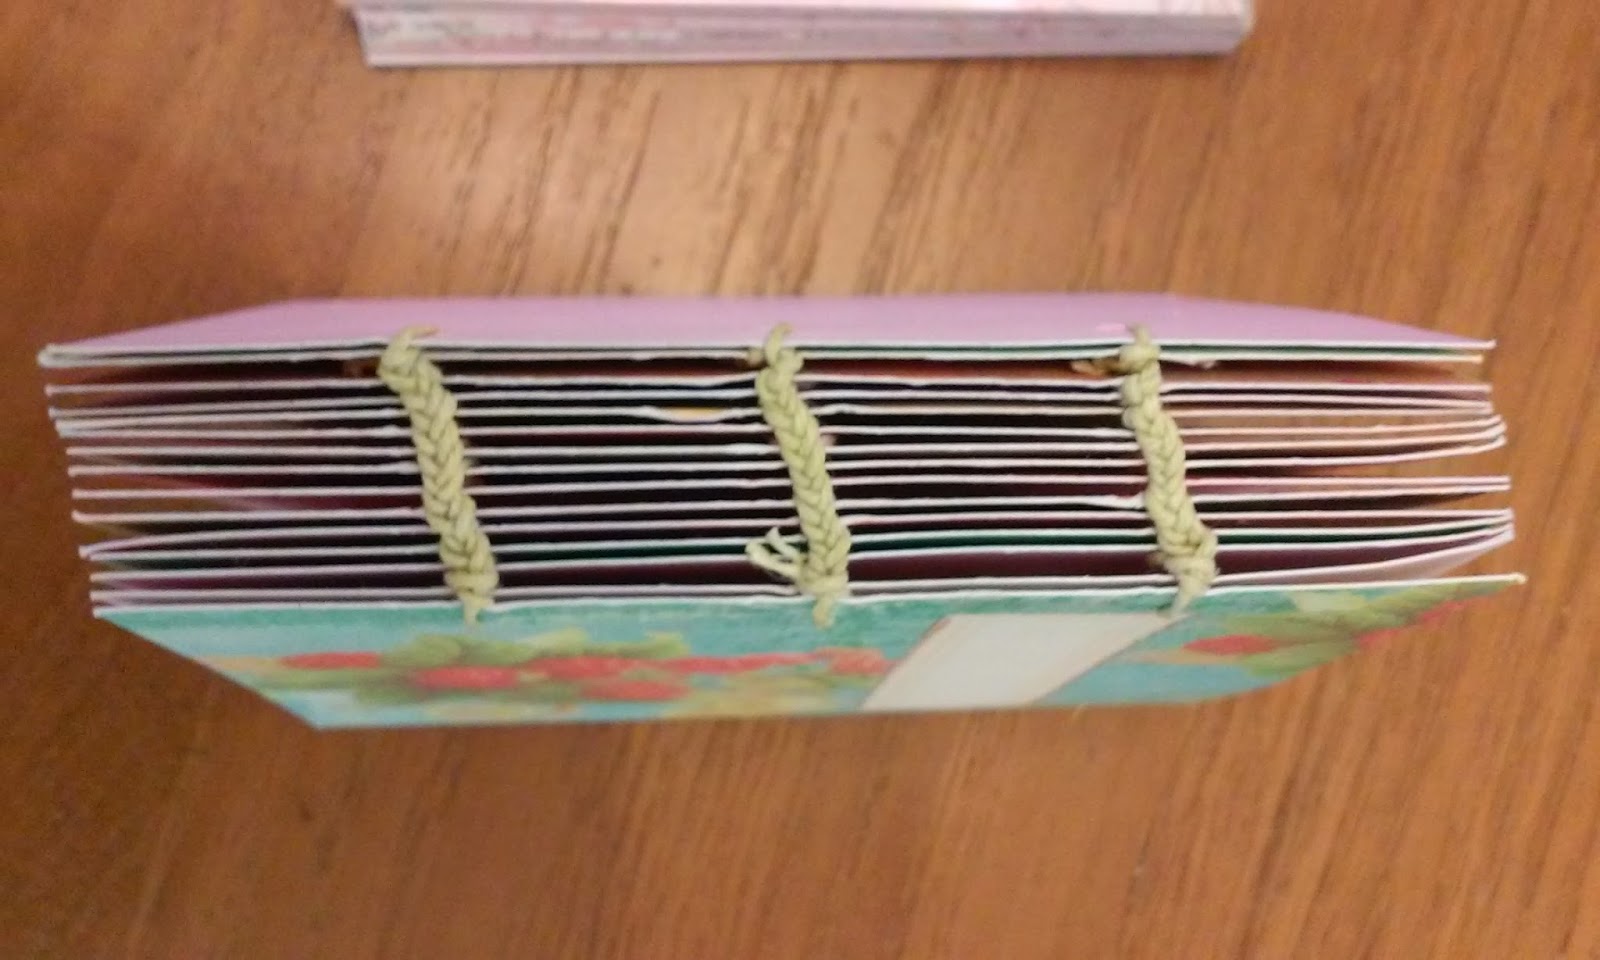
and here are a few more pictures of a notebook I covered 
I found these scraps in a huge pile of paper I found last week
this is a standard composition notebook and what I use
for all of my ideas, notes, quotes, and directions

and here it is finished
stencils, textures, paste, oil pastels, stabillo pencil, and graphite pencils
waiting for it's first entry.
Hope you have enjoyed my spin on Craft month ideas.  I have one more day left......
see you 
margie


Monday, March 28, 2016

technical difficulties

having problems with tech........
back as soon as it is resolved..............

Friday, March 25, 2016

a favorite technique!

color a solid stamp with distress inks
I just used pads, started by inking the whole stamp with Linen and then adding the other colors to spots
lightest to darkest
mist with water
stamp a piece of water color or mixed media paper
leave stamp on paper to let ink set
voila!

my ink choices today

the result

the finished card
this is a part of my new series "Sketches 2016"

a backyard visitor!


thanks for stopping by!
margie


Sunday, March 20, 2016

hippity hoppity............

My Easter/Spring cards are finished and waiting for the envelopes.  I took advantage of the stock up sale at Michaels and should be good with cards for a while.
3 packs for $5 was a great buy

dies, stencils, stamps, gems and ribbon

and some bunnies showed up too.
they are now stuffed with some Easter goodies
and ready to go in the mail.

quick, easy
here's how

draw out your pattern
my pattern was 4.5 inches across and 5 inches tall

cut two - I used felt
stitch 1/4 inch around, leave open between the ears and cut down
draw eyes and nose with a sharpie
shade the ears and cheeks with a colored pencil
fill and tie closed.
you can even do the stitching by hand if you choose.

and you might remember this water color piece
I added some stems and doodling to outline the petals a little bit

and this is starting to shape up, too.

and look what I found in a box.  paper!!!
enjoy your day.  Happy crafting!

Saturday, March 19, 2016

tucson stamp show today!

it was small - only 8 vendors but it was nice.  I did get a stencil, tim's of course.

liked the art anthology booth and products.  she will be at the scrapbook show in May (Novi).
check it out -  interesting stuff.

back soon with more  "national craft month" stuff!

also went to artisan's art market at the art museum.  fun there, too!


Tuesday, March 15, 2016

permission to play

a new technique for me from le Blanche stamps (?)
gather your supplies and give it a try, the pictures don't really do the samples justice.  They sparkle and shine.
get ready:
specialty stamping paper or one that will hold up to water- I used mixed media, but the specialty may be better
distress stain in a metallic color - I used pewter and brass
distress inks and blending tool
stencil - not too small a pattern
damp cloth or baby wipe
archival ink and stamps

extras:
texture paste
perfect pearls, distress re-inker and interference or pearlescence embossing powder all in a similar shade
heat gun
this really shows the shimmer and shine

just as shimmery and shiny
the colors for this are shown below
the process for each is the same

cover the paper with distress stain (brass) and let dry

add distress inks, straight from the pad

blend together

add a stencil and remove ink by patting with a damp cloth
then add the same colors of ink 

stamp using archival ink
you could stop right here.
the shine is amazing!

mix texture paste with perfect pearls and a drop or two of distress re-inker
I used Shabby Shutters
embossing powder (very old) and perfect pearls

use colorized pasted through a stencil and cover with embossing powder
let the paste dry then heat


I also added some shadowing with a distress marker and a stibillo pencil
use your finger to blend and maybe a little water but remember
nothing used was waterproof so if you use too much water the background color will disappear
I also added some splatters of brass distress stain with this one.

side by side! 
colors for the red and blue:
pewter stain
fired brick and concord inks
perfect pearls and embossing powder in a blue shade and broken china re-inker.

Wish I were at Scrappy Chic this week.  This would be a great demo!!!
give it a try on your own.  let me know if you have any questions.
margie

Monday, March 14, 2016

stock up sale going now

Michael's Stock Up sale has 3 card packs for $5!!  Normally $4.99 each.
Get them while you can!!
Lots more on sale, too but this one is hard to beat.

Sunday, March 13, 2016

whew!!

first, it's been a stressful two days but they are finally over and everything turned out great.  More on that later.

Finished......

finished!  the charms make a sweet sound when they move

found along the side of the road.
a worn book cover
starting to embellish

can you believe this was only $1?
gotta love the Dollar Tree!

more flowers finished

Go White!!  Go Green!!
Big Ten Champions 2016!!
(this was the stressful situation)


Enjoy the rest of your day.
margie

Friday, March 11, 2016

today

today......
saw my first rattlesnake of the season - dead in the road!!

happened upon and bought a great Easter decoration and only $1.  Dollar Tree is great!!
(picture tomorrow)

colored my crochet flowers, they're drying in the sun.

drilled and embellished my book cover. It's drying, too.  pictures tomorrow, too.

picked up some "trash"  along the road side and have my idea for art -  you know, one man's trash is another's treasure.......

Go Green!!  waiting for the game to begin.

Remember to move your clocks ahead this weekend.  AZ is one of two states that doesn't move.  Us and Hawaii.  There will be 3 hrs. difference between us and MI again.  That's a lot......
margie

Thursday, March 10, 2016

art in process

here is where I am so far with projects this month.........
windows finished, color added
still thinking about the inside and embellishments

 peeking out 

ribbon added and wore it today like a corsage - pinned to my sweater (yes a sweater, we had a little cold front)

getting ready to attach things
signatures are ready to be bound together but
I think they are going to be tied in so they are replaceable

getting ready  to mail

something I tried last night
I really like these little atcs so I
turned them in to a little book
not that happy with the outcome
but it's a start
you can make 3 books from each pack.
Prima!

A single page coptic stitch was used
maybe chipboard covers would have been better,
I will try again with another set.

that's it for now.
thanks for stopping in.
margie

Wednesday, March 9, 2016

violet posies


having some fun with crochet, felt and wire.............

next, it gets turned into a lapel pin.  want one?
let me know......$6 (shipping included)
coming soon - primroses and more........

totally inspired by follower blogger Todolwen.

margie

Tuesday, March 8, 2016

a little tease......

mixed media/altered books are on their way........

crinoline flowers - see Tammy Tutterow's site for how to's
the spoon came from a vintage sale
the book - one from my stash
a little paint, crackle embossing, texture paste.......

a photo copy of a cabinet card that wants to become a journal cover
book pages glue and sealed down
white wash
waiting for gelatos, oil pastels and some stabillo pencil smudging.......

and the cover
crackle through a stencil
gesso, sprays
and the die.....

these have been works in progress for a long time.......sometimes I don't want to "ruin" anything so I stop until I am ready again.  I'm ready again!
This window die was a Necessity for me.  And I see lots of use in it's future.
more to come with these.
margie